
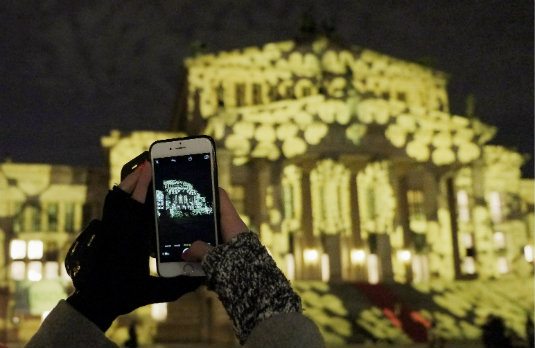

Light festivals are magical. International artists illuminate buildings, landmarks and places transforming entire neighbourhoods into impressive works of art. They take place all over the world, with Berlin’s Light Festival in October, Lyon’s in December and Amsterdam’s and London’s in January. Also look out for Sydney, Prague, York, Eindhoven and Gent!
Visiting a city during a light festival makes exploring the city at night even more special. We’d obviously recommend enjoying the moment and taking it all in but these are memories you’ll probably want to capture on camera too! Our team spent a few days at Berlin’s Light Festival last month and they’ve shared their pro tips on capturing the illuminated buildings.
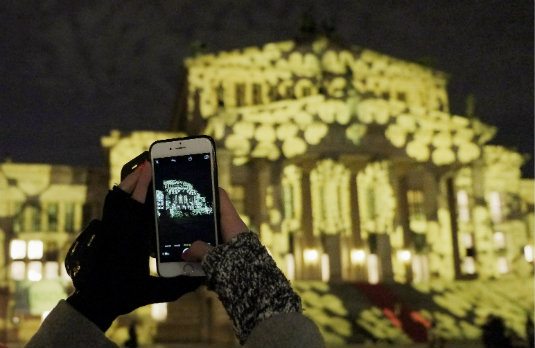
Inca, our Berlin Blogger says: “If you have room pack a tripod and a wide-angle lens. The best photos capture the people and the atmosphere as well as the installations. For brightly lit objects try using a neutral density filter. Play a bit with the shutter speed and aperture for the moving light displays. The Festival of Lights is a great opportunity to test your ability of night photography.”
Even if you don’t have a tripod or a wide-angle lens practice taking photos from different distances from your focus point. You can pick your favourites after.
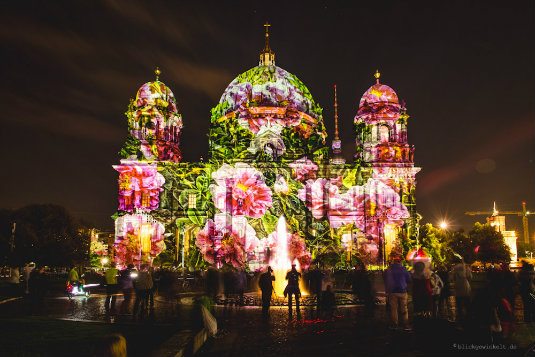
Our photographer Joao, who joined us in Berlin produced some breathtaking images and has some great advice: “Even the smallest tripod helps create non-blurry photos. If your camera or smartphone has a timer, it can be used with the tripod. If you give the camera a few seconds to focus it reduces the ISO sensitivity and shutter speed so that more light comes to the sensor and focuses your photo.”
Tripods come in all sizes and can often be dismantled or manipulated to fit into the smallest of bags.“When standing, you can always hold the tripod with one hand and use the other to firmly grab the camera – to reduce shaking. Also, keeping your elbows close to your body, holding a nearby pole or railing will give more stability.
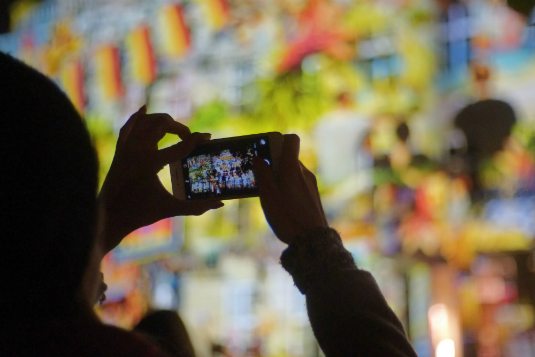
“When standing, you can always hold the tripod with one hand and use the other to firmly grab the camera – to reduce shaking. Also, keeping your elbows close to your body, holding a nearby pole or railing will give more stability.
“But motion blur and shaking aren’t always your enemy! Having the power to capture light for a larger period of time gives you unlimited creativity. Following moving objects while photographing at night creates abstract images and most of all, images that are fun to make. Just try moving the camera or smartphone while using night mode or experiment with longer exposures.
“If your camera doesn’t have wifi like mine, you can always download your pictures to your smartphone using a memory card and an OTG usb cable. You can also buy a wifi memory card that allows you to instantly download the pictures through wifi to your smartphone, tablet or computer.
“One of the best apps I’ve tried for editing while traveling, is VSCOcam. It’s just perfect for me, as I can change exposure, contrast, temperature, tint, among many other amazing functions. I can adapt my photos on the go and instantly upload them to my social networks and share them with family and friends. Just with a few extra things you can change your vision while traveling!”
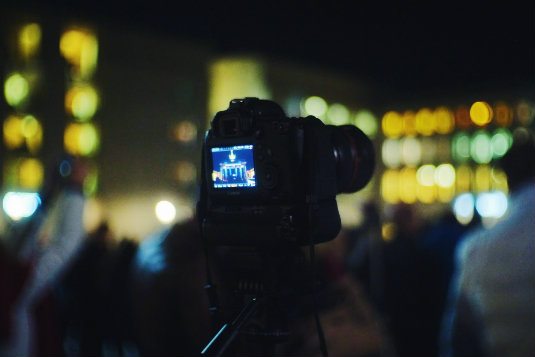
For those of you who have a DSLR, Jonathan our Videographer has a few tips for cool videos in light festivals.
1- SETTINGS
Noise is the biggest problem in low light environments, therefore you have to lower the ISO as much as you can. You should always work at the longest shutter speed possible (Usually 1/30 sec when filming at 30 fps) and the biggest aperture that your lens allows. NEVER work with automatic white balance!
2- FILMING
Always have a tripod for low light: at night the shutter speed is long and you have a lot of motion blur. Your eyes need a point of reference so as not to freak out! If there is a steady tree or building and people moving around you have a bit of motion blur on people and none on the steady background. This gives the video a really nice smooth effect. If you are filming lights, always try to have a nice lens flare – 50mm fixed lenses are often the best!
If you are trying to film people in low light try to use the ambient light first (film closer to the ‘natural’ sources of light). If you need to see the faces perfectly you should invest into lighting, such as LED torches with warm filters (orange is good).
When moving your camera try to be as slow as possible because the motion blur can ruin all your images while moving from left to right (or vice versa). Always use a flat image pre-set when filming to have more option in post-production. (Cinestyle or other pre-sets like this are fine).
3- POST PRODUCTION
Colour grading in low light or night footage is a bit tricky because of the natural noise that the footage will have (even though you are trying to go as low as possible on the ISO, you always have some.)
It’s up to you but I usually tend to remove a bit of green and add a bit of red and blue via a curve adjustment. The natural colour of a street during the night is too green.
To punch up the black and the white of the footage I recommend applying a Level adjustment, go to the main RGB channel and tight up the black side until it fits your needs, and same for the white.
ALWAYS apply your colour correction on an adjustment layer and not on the footage itself (to avoid colour noises).
Colour grading is 100% up to what are your needs. This is not a rule by any means.”

 Get the App.
Comments